Golf carts are used in a wide variety of scenarios, including golf courses, community commuting, sightseeing tours, senior mobility, farms, and ranches. Different use cases call for different chassis heights:
On golf courses and in community settings—especially for senior users—roads are generally flat. Customers prefer a lower chassis for easier and quicker entry and exit, so they typically choose low chassis models.
In scenic areas, and particularly on farms and ranches, the terrain is often uneven, muddy, or rutted. In these conditions, a higher chassis is needed to improve ground clearance and passability, and tires with better traction are also essential. As a result, customers in these environments tend to opt for high chassis carts.To accommodate these diverse needs, most brands manufacture separate chassis frames for low and high floor versions. However, if an end user later changes their usage scenario, they have no choice but to purchase a brand new vehicle.
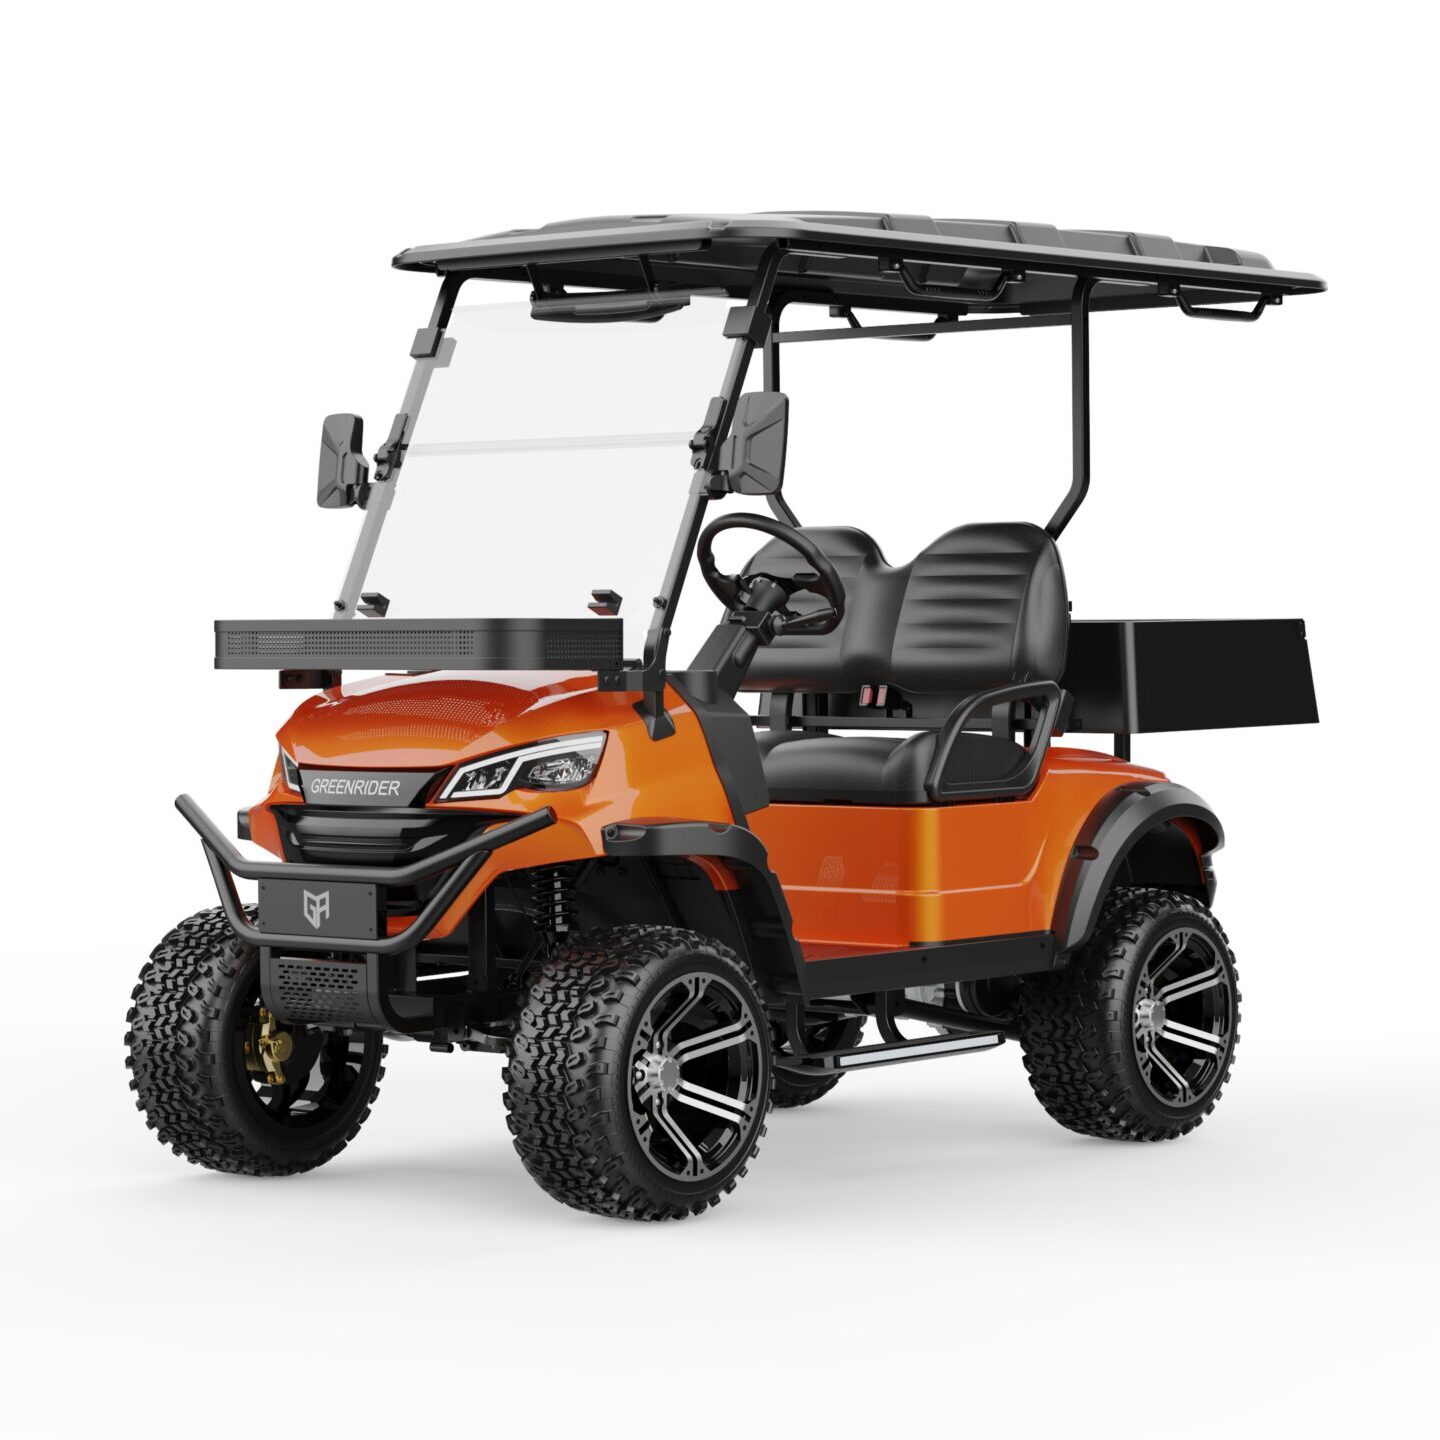
GreenRider offers an innovative alternative: a modular chassis design where both low and high chassis models share the same base frame. The ride height is adjusted quickly and easily using dedicated lift modules—no need to replace the entire cart.
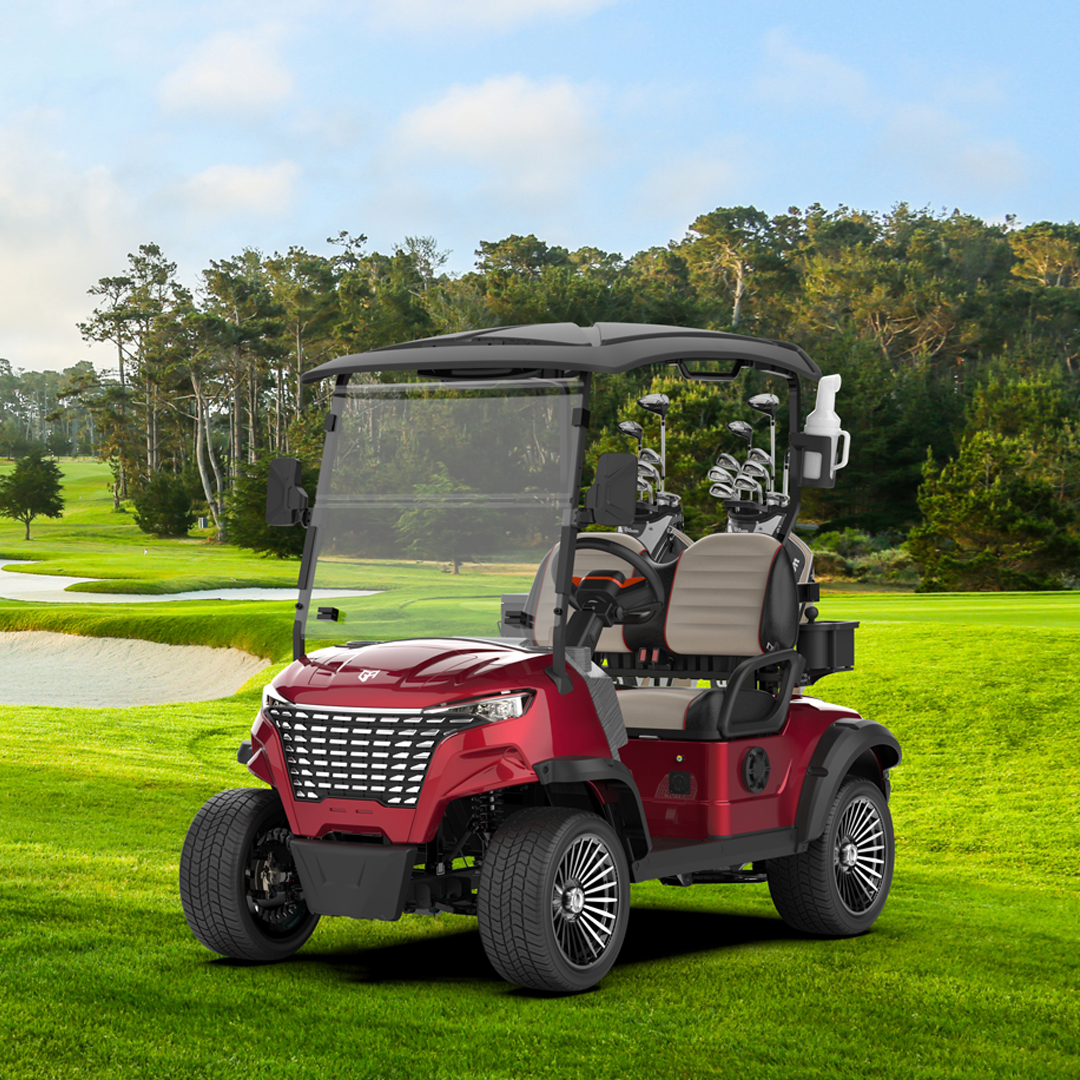
Take GreenRider’s low chassis model KR G2+2 as an example. It comes with 550 rims and WR028 tires (tire diameter: 50.6 cm). The floor to ground height is approximately 35 cm.
If the owner later wants to use the cart on a farm or ranch, there is no need to buy an expensive new high chassis vehicle. They only need to purchase a few parts from their dealer and do the DIY conversion themselves:
1. Parts to purchase from the dealer:
1.1 Lift kit – 2 sets,
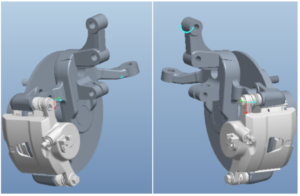
1.2 Left and right high chassis knuckle & brake assembly – 1 set
1.3 Front bumper – 1 set
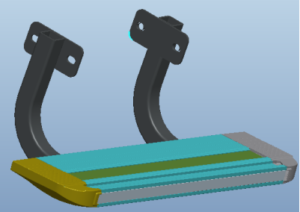
1.4 Side step boards – 2 sets
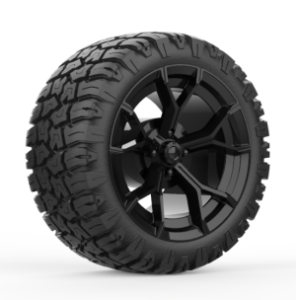
1.5 Four 14 inch all terrain tire & wheel sets – A23B rims / WG03 tires, tire diameter 58 cm
2,DIY Conversion Steps
2.1Rear axle – install the lift kit and replace rear tires
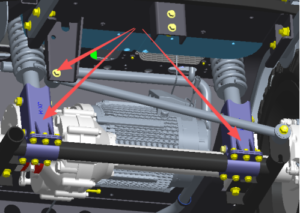
2.1.1.Use a jack to support the chassis. Loosen the two rear shock absorber bolts and the one stabilizer bar bolt as shown below.
2.1.2.Attach the lift kit to the rear trailing arm. Then mount the rear shock absorber onto the lift kit, and secure the stabilizer bar to the lower locating hole. See below.
2.1.3 Replace the rear tires – swap the original WR028 road tires for the WG03 all terrain tires.See below.
2.2,Front axle – replace the knuckle & brake assembly and front tires
2.2.1 Remove both front wheels. Then loosen the following fasteners in order:
Tie rod end ball joint nut (knuckle to steering gear)
Front shock absorber bolts (knuckle to shock)
Control arm bolts (knuckle to arm) Remove the original low chassis knuckle & brake assemblies from both sides.See below.
2.2.2 Install the new high chassis knuckle & brake assemblies on both sides.
First, secure the knuckle assembly to the control arm.
Then install the two front shock absorber bolts.
Finally, fasten the tie rod end ball joint to the knuckle.See below.
2.2.3,Install the WG03 all terrain tires,See below.
3.Final assembly
Finally, install the front bumper and the side step boards on both sides. The cart is now converted to the high chassis version – the KR G2+2H. At this point, the floor to ground height is approximately 47 cm.
Introduction:Electric golf carts are no longer just a tool exclusive to golf courses; they have become the preferred transportation choice for more and more users. With increasing environmental awareness and technological advancements, electric golf carts are now showcasing unique advantages across various sectors. So, why are electric golf carts becoming the future trend? Body: Conclusion:Overall, […]
Introduction:As an eco-friendly and cost-effective transportation tool, electric golf carts are gaining popularity. However, how can you maintain and extend the lifespan of your electric golf cart? In this blog, we will share some simple and effective maintenance tips to help you ensure your cart stays in top condition for years to come. Body: Conclusion:By […]
Introduction:When buying a golf cart, many people find themselves debating between electric and gas-powered models. So, what’s the difference between electric and gas golf carts, and which one is better suited for your needs? In this blog, we will provide a detailed comparison to help you make the best decision. Body: Conclusion:Whether you choose an […]
Prohibition on Using Lead-Acid Chargers for Lithium BatteriesFor common 48V and 72V electrical systems, the full charge voltages of lead-acid and lithium batteries are different, and their charging logic is also not the same. Using the wrong type of charger may, at best, prevent the battery from reaching a full charge, and at worst, cause […]
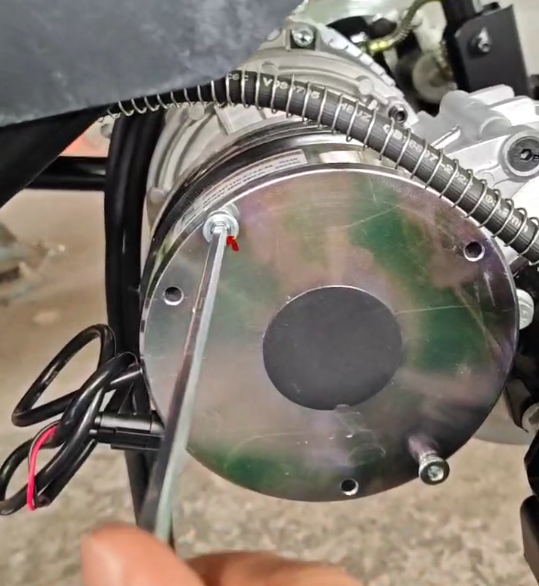
Electromagnetic brakes are commonly found in mid-to-high-end electric golf carts, typically mounted on the rear end of the drive motor. Their primary role is to serve as a parking brake, and in some models, they also function as an emergency braking aid. The core design principle is: energize to release, de-energize to lock — the brake pads are […]
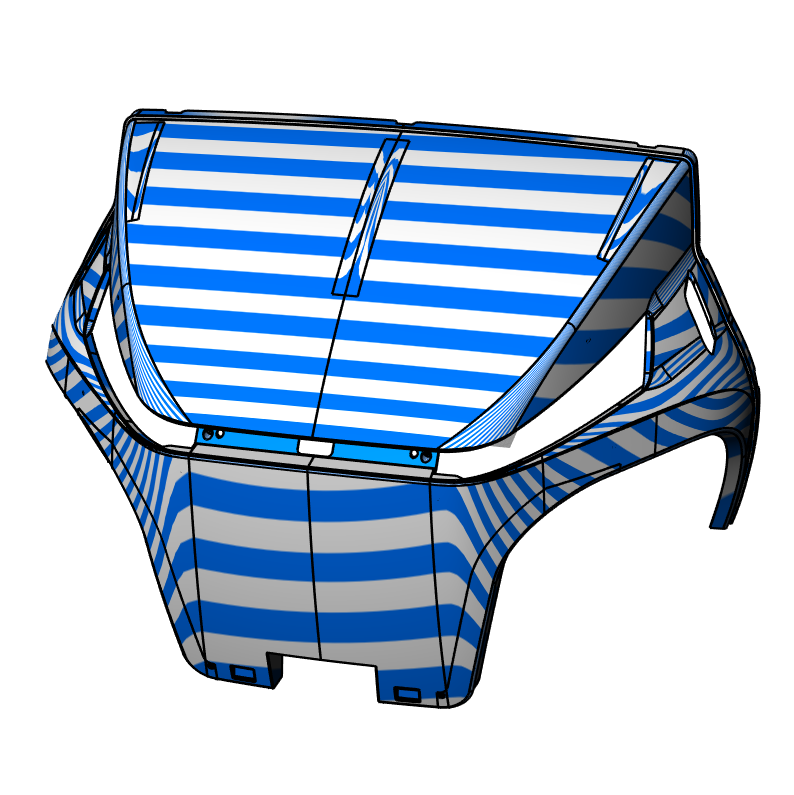
(Exterior A-level curved surface standard) For the exterior components such as the body, front face, side wings, and roof of a golf cart, the commonly used CAS modeling surface (conceptual A-level surface) in the automotive industry is used to construct the process. Taking Rhino, a mainstream industrial design modeling software, as an example. It is […]







.jpg)